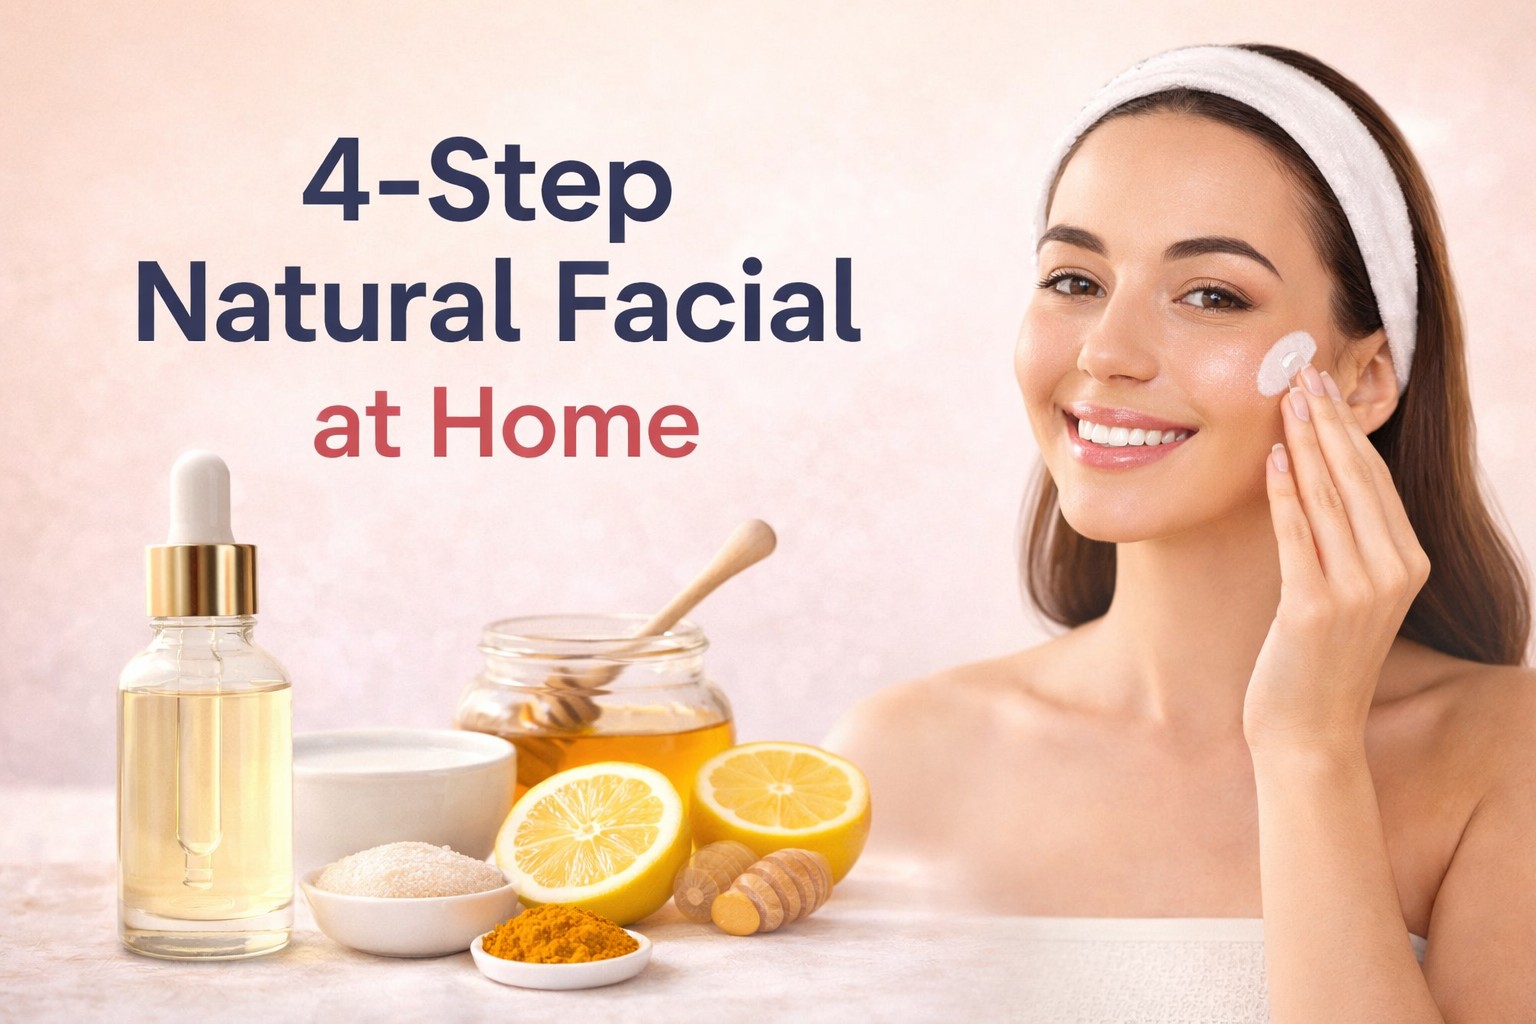
The 4-Step Natural Facial You Can Do at Home (Free Routine)
Skip the spa. This simple 4-step natural facial uses ingredients you already own to leave skin glowing — and it takes under 20 minutes.
Last updated: May 20, 2026
Healthy, glowing skin doesn't always require expensive salon treatments or chemical-based products. In fact, many skincare experts recommend natural facial routines that use simple household ingredients to cleanse, exfoliate, and nourish the skin. A natural facial at home can help improve skin texture, remove impurities, and restore your skin's natural glow.
If you're looking for a simple DIY facial routine, this 4-step natural facial method is an effective and affordable solution. With ingredients like milk, honey, sugar, lemon, and turmeric, you can give your skin the care it deserves while avoiding harsh chemicals.
Before adding any natural ingredients to your routine, it's smart to understand how different skincare actives interact. Use our Skincare Ingredient Conflict Checker to make sure your products work safely together.
Recommended For This

Step 1 of any at-home facial — a non-stripping cleanser that leaves the skin barrier intact.
As an Amazon Associate we earn from qualifying purchases. This is at no extra cost to you.
Why Choose a Natural Facial at Home?
Before diving into the process, here are some key benefits of DIY natural facials:
- ✓Chemical-free skincare — no harsh synthetic ingredients
- ✓Cost-effective — uses household ingredients
- ✓Suitable for most skin types
- ✓Improves hydration and glow
- ✓Removes dead skin cells and impurities
Natural ingredients often contain antioxidants, vitamins, and antibacterial properties that support healthier skin without irritating sensitive areas. If you're interested in other natural ingredients, check out our guide to 6 skincare ingredients for glowing skin.
Step 1: Cleansing — Remove Dirt and Excess Oil
The first and most essential step in any facial is cleansing. Proper cleansing removes dirt, oil, makeup residue, and environmental pollutants from the skin.
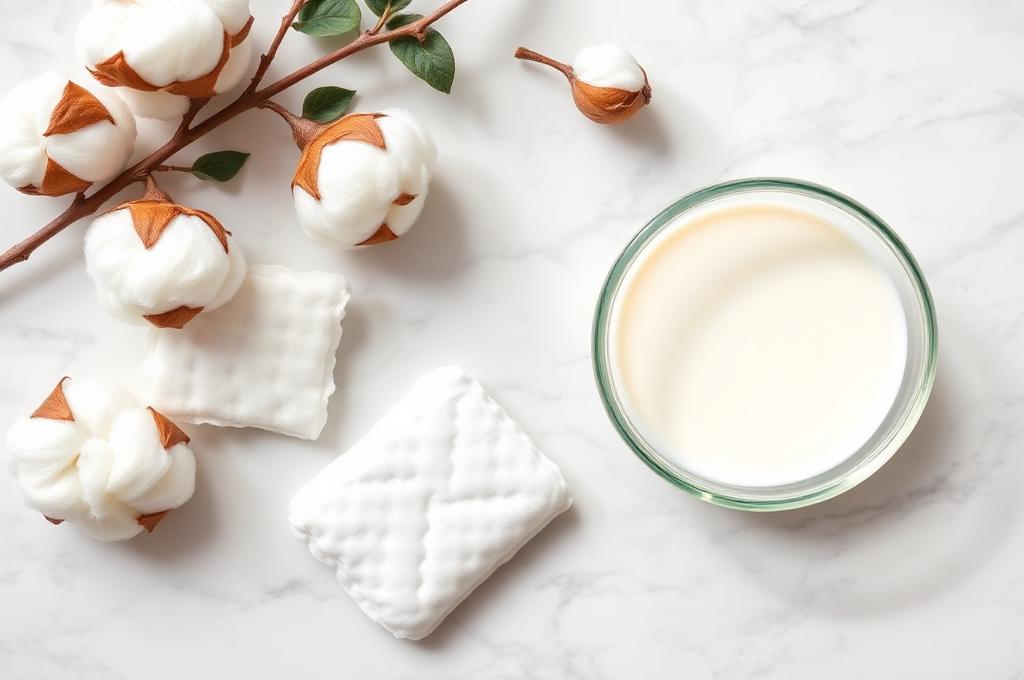
Ingredients
- • Raw milk
- • Cotton balls or pads
How to Do It
- Take a small amount of raw milk in a bowl.
- Dip a cotton ball into the milk.
- Gently apply it across your face and neck.
- Massage your skin in circular motions for about 2 minutes.
- Rinse your face with lukewarm water.
Why Milk Works for Cleansing
Milk contains lactic acid, which helps dissolve impurities while keeping the skin hydrated. It acts as a gentle natural cleanser that softens and brightens the skin. Lactic acid is also found in many commercial skincare products — learn more about how acids work in our dangerous skincare mistakes guide.
Skin Benefits
- ✓ Removes dirt and oil
- ✓ Hydrates dry skin
- ✓ Improves skin softness
- ✓ Prepares the skin for exfoliation
Step 2: Scrubbing — Exfoliate Dead Skin Cells
After cleansing, the next step is exfoliation. Scrubbing removes dead skin cells that make the skin look dull and rough. Be gentle — over-exfoliating can damage your skin barrier.
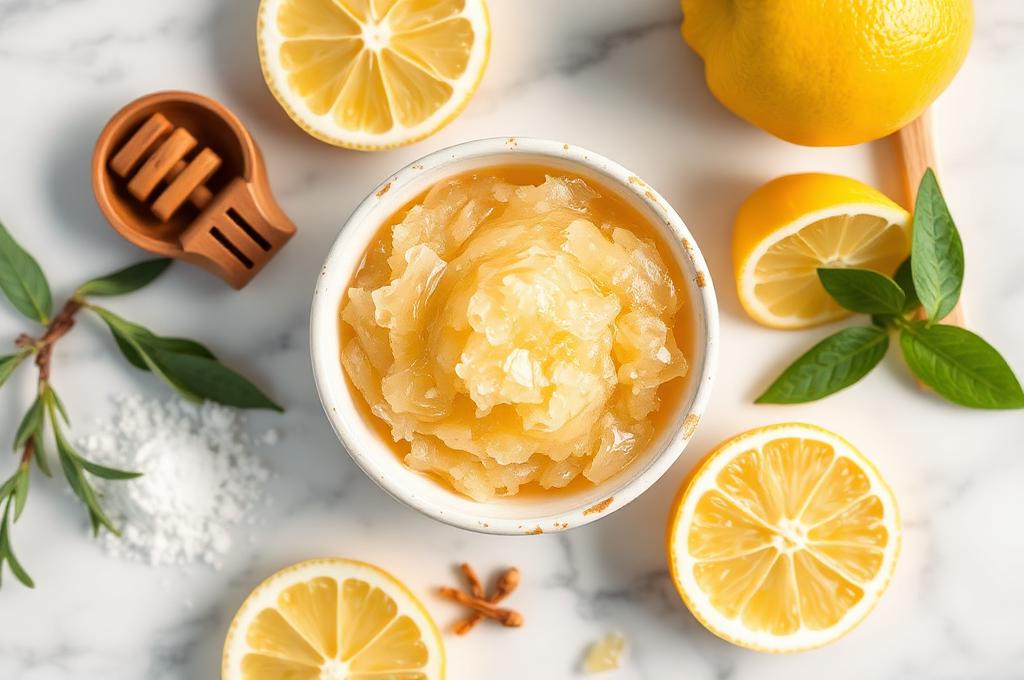
Ingredients
- • 1 tablespoon sugar
- • 1 tablespoon honey
- • A few drops of lemon juice
How to Do It
- Mix sugar, honey, and lemon juice in a small bowl.
- Apply the mixture to your face.
- Gently scrub your skin in circular motions for 2–3 minutes.
- Focus on areas prone to blackheads such as the nose and chin.
- Rinse with warm water.
Why This Natural Scrub Works
- • Sugar acts as a natural exfoliant that removes dead skin cells.
- • Honey has antibacterial and moisturizing properties.
- • Lemon juice helps brighten the skin and control excess oil.
Regular exfoliation can significantly improve your skin tone, smoothness, and clarity. If you prefer chemical exfoliation, check whether your products are compatible with our ingredient compatibility checker.
Skin Benefits
- ✓ Removes dead skin cells
- ✓ Improves skin texture
- ✓ Brightens dull skin
- ✓ Helps prevent clogged pores
Step 3: Steaming — Open Pores and Detox the Skin
Steaming is one of the most important steps in a facial because it helps open up pores and allows the skin to release trapped impurities. If you enjoy facial treatments, you might also like our ice water facial benefits guide — the perfect follow-up after steaming.
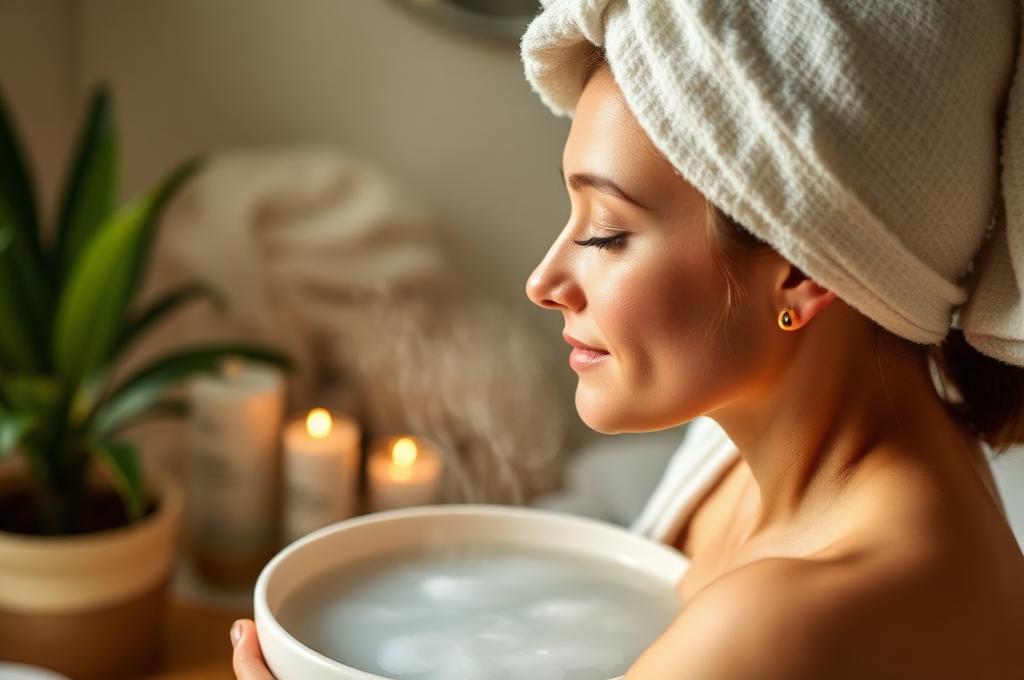
Ingredients
- • Hot water
- • A bowl
- • Towel
How to Do It
- Fill a bowl with hot water.
- Place your face about 8–10 inches above the bowl.
- Cover your head with a towel to trap the steam.
- Allow the steam to reach your face for 5–7 minutes.
Why Steaming Is Important
Steam helps loosen dirt, oil, and blackheads trapped inside pores. It also improves blood circulation and allows the skin to absorb nutrients from skincare products more effectively.
Top Rated Products For This Routine
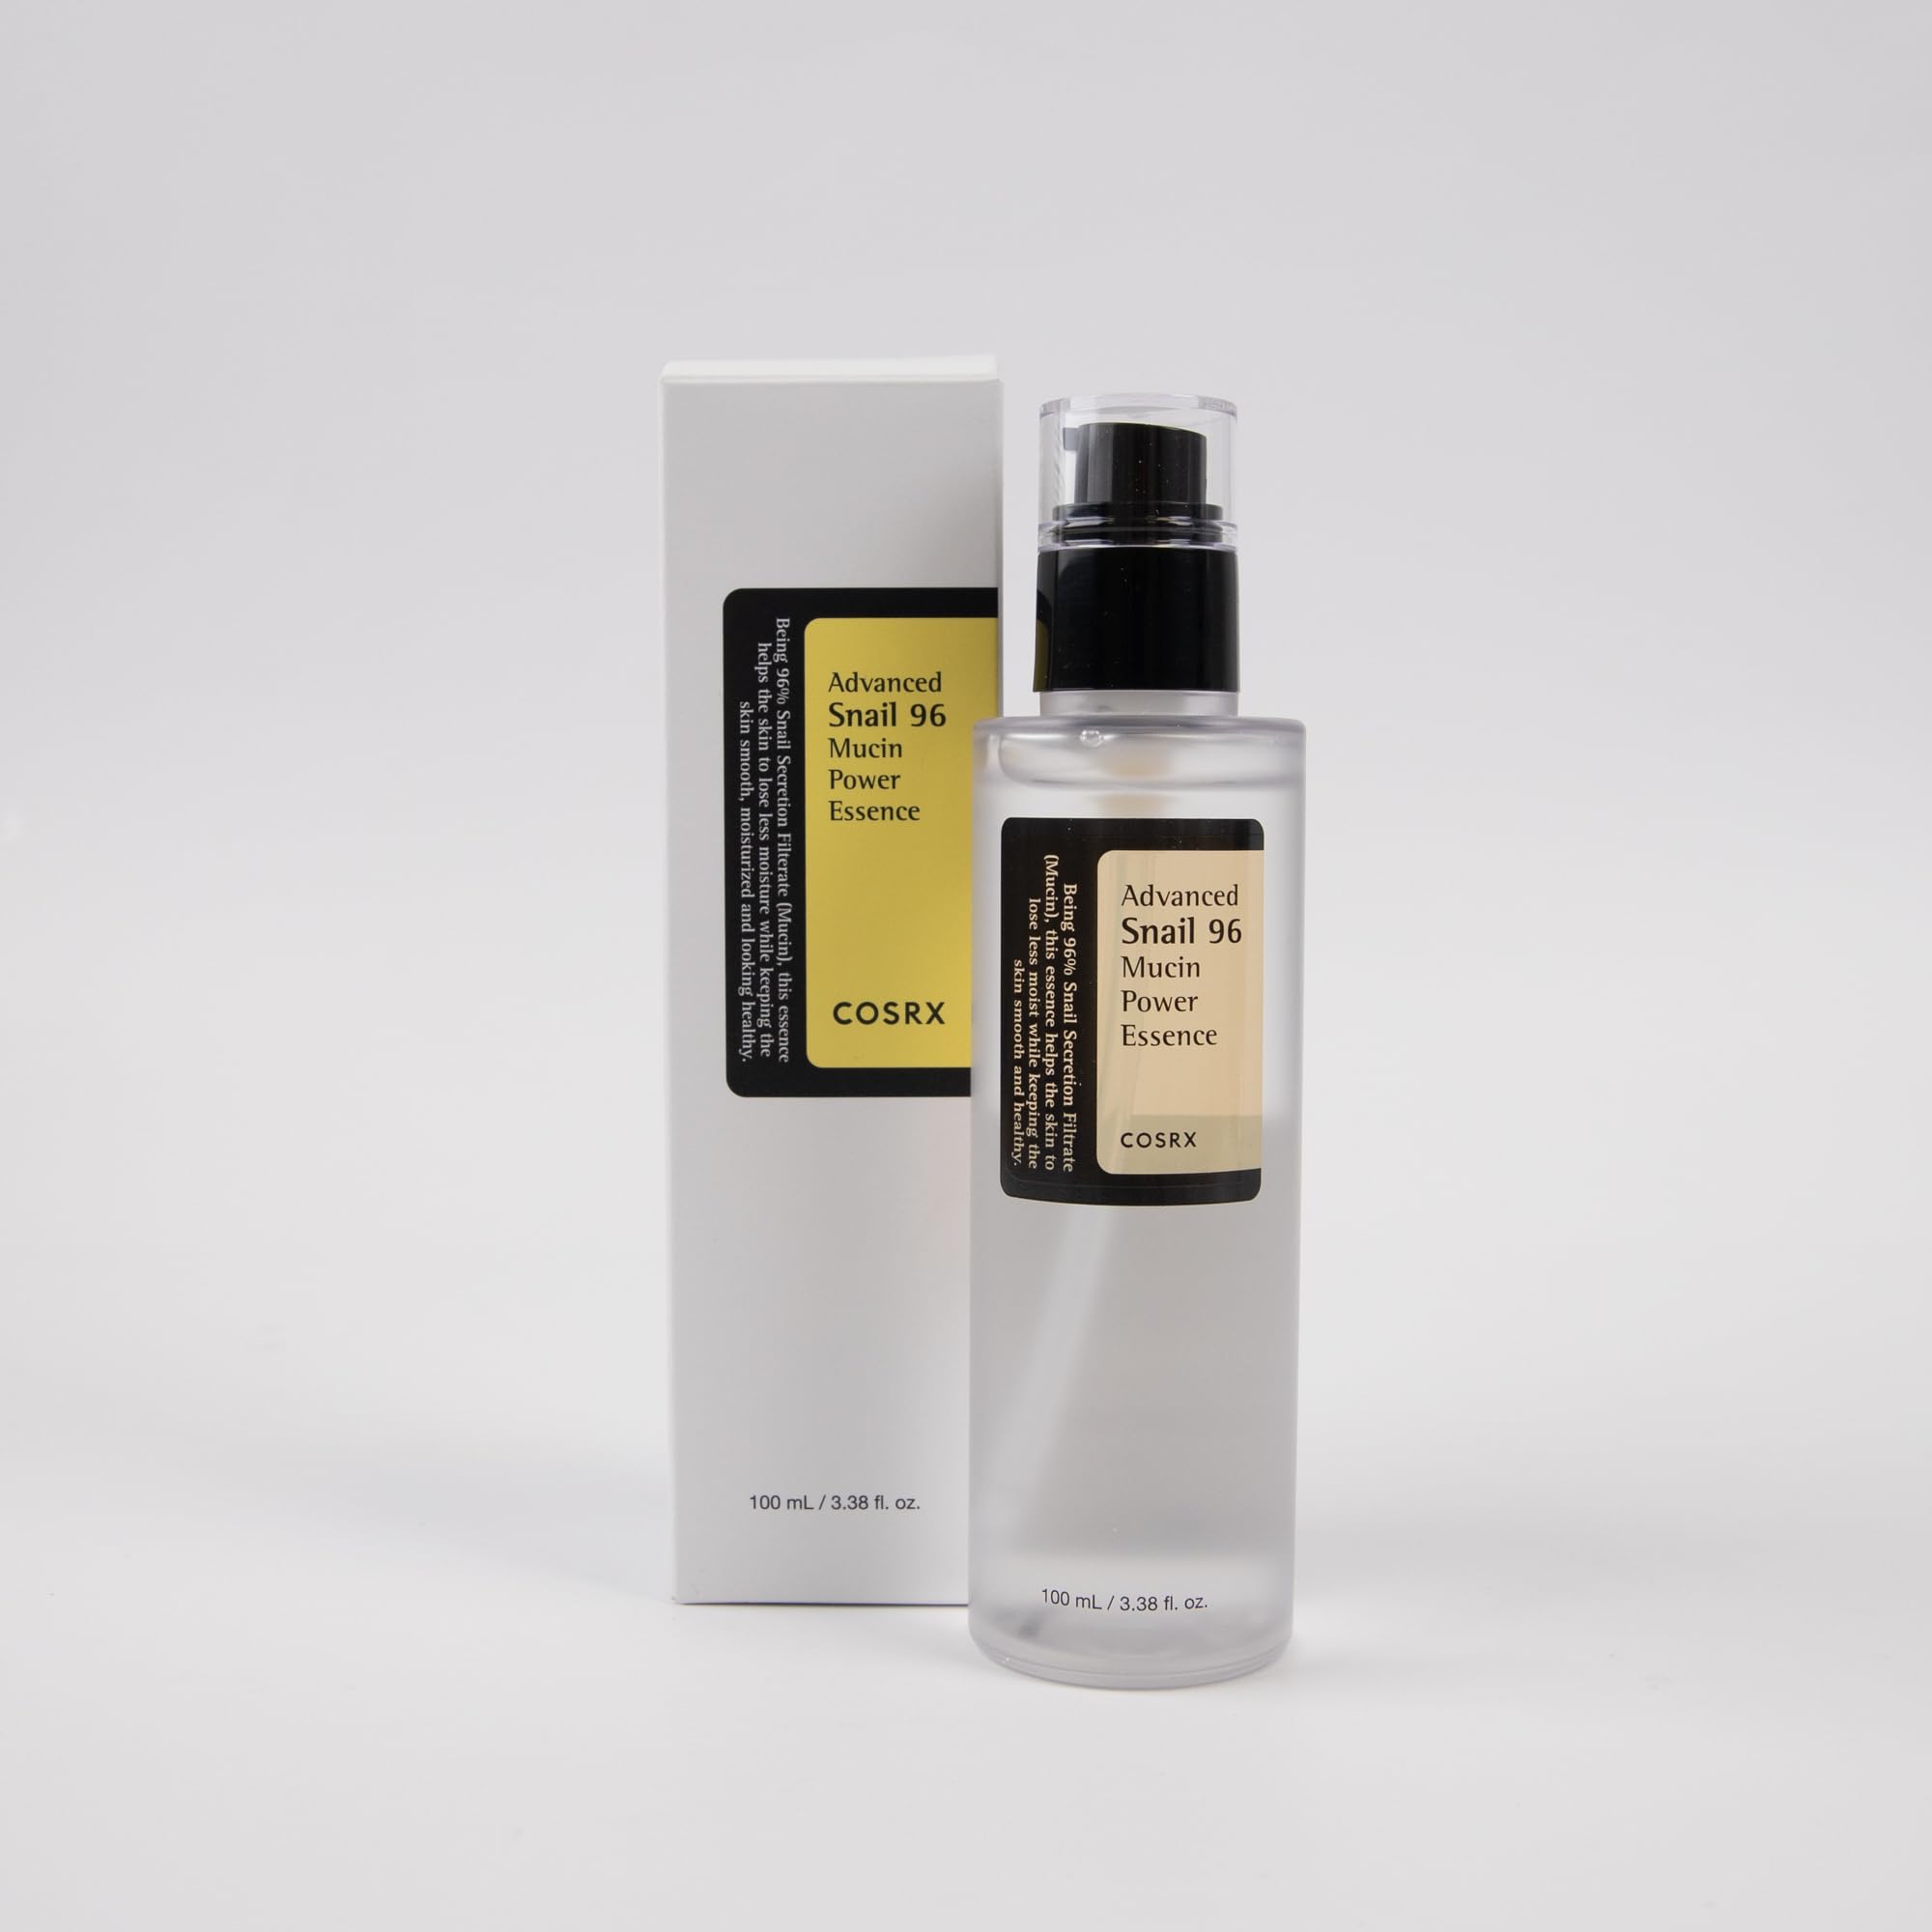
Soothing snail mucin essence for step 2.

As an Amazon Associate we earn from qualifying purchases. This is at no extra cost to you.
Skin Benefits
- ✓ Opens clogged pores
- ✓ Improves blood circulation
- ✓ Helps remove blackheads
- ✓ Enhances product absorption
Step 4: Face Mask — Nourish and Rejuvenate the Skin
The final step in this natural facial routine is applying a face mask. A good face mask provides deep nourishment and restores the skin's natural glow. Choose from several options depending on your skin type.
🥥 Coconut Oil Mask
Best for: Dry & dehydrated skin
- ✓ Deep hydration
- ✓ Improves elasticity
- ✓ Leaves skin soft
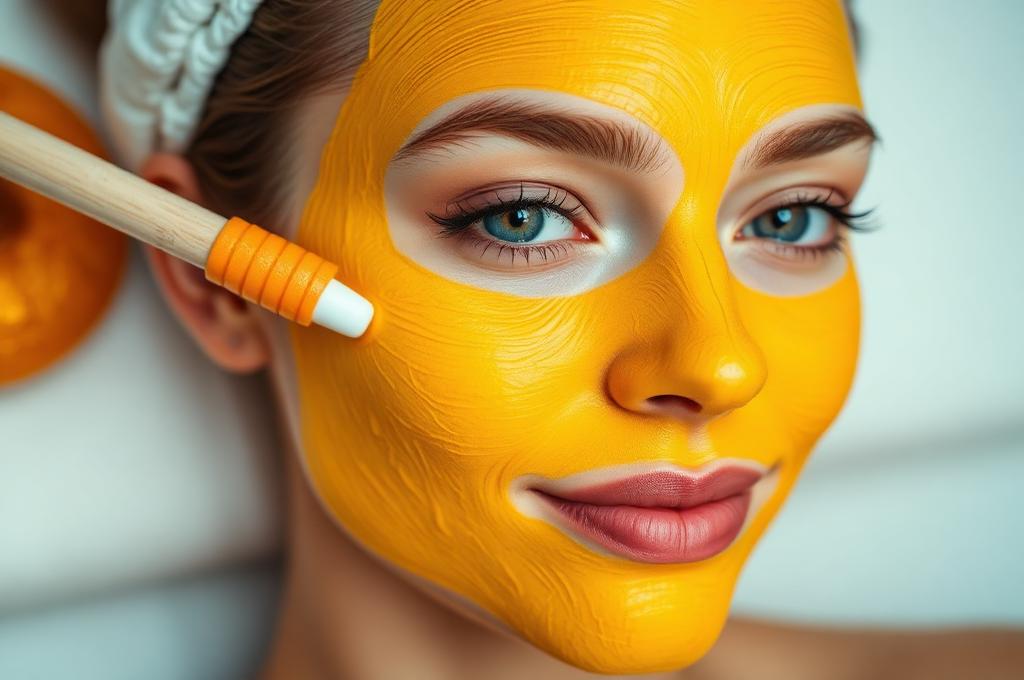
🍯 Honey + Turmeric Mask
Best for: Glowing skin & acne
- ✓ Brightens complexion
- ✓ Reduces inflammation
- ✓ Fights acne bacteria
🍋 Lemon + Curd Mask
Best for: Oily & dull skin
- ✓ Improves skin tone
- ✓ Reduces pigmentation
- ✓ Refreshes tired skin
How to Apply the Mask
- Apply your chosen mask evenly across the face.
- Leave it on for 15–20 minutes.
- Rinse with cool water.
- Pat your face dry with a soft towel.
Tips for Best Results
- 💡Perform this facial once a week for best results.
- 💡Always start with a clean face.
- 💡Avoid harsh scrubbing on sensitive skin.
- 💡Apply a light moisturizer after the facial to lock in hydration.
- 💡Drink plenty of water to maintain skin hydration from within.
- 💡If you use active skincare products like retinol or vitamin C serum, wait at least 24 hours after your facial before applying them.
Recommended Products
While this facial uses natural ingredients, these products can enhance your routine and results:
Amazon Basics Oval Cotton Pads (300 Count)
Hypoallergenic, lint-free cotton pads ideal for gentle cleansing and toner application.
View on AmazonBee Pollen Turmeric & Honey Jelly Face Mask
Brightening turmeric and honey face mask for glowing skin.
View on AmazonNanoSteamer Large 3-in-1 Facial Steamer
Nano ionic facial steamer for deep pore cleansing with bonus skin kit.
View on AmazonViva Naturals Organic Coconut Oil
Cold-pressed organic coconut oil for deep skin hydration.
View on AmazonCeraVe Moisturizing Cream
Dermatologist-recommended moisturizer to seal in post-facial glow.
View on AmazonDERMAXGEN Organic Turmeric Face Mask
Organic turmeric clay mask for clear, radiant skin and pore cleansing.
View on AmazonFinal Thoughts
A 4-step natural facial at home is a simple yet powerful skincare routine that helps maintain healthy and glowing skin without relying on expensive treatments. By following cleansing, scrubbing, steaming, and masking, you can effectively remove impurities, improve skin texture, and boost natural radiance.
Natural ingredients like milk, honey, turmeric, lemon, and coconut oil provide essential nutrients that nourish the skin and support long-term skin health. If you incorporate this routine into your weekly skincare regimen, you'll notice smoother, brighter, and healthier-looking skin over time.
Want to make sure your full skincare routine is safe? Use our Skincare Conflict Checker to verify that all your products and ingredients play well together.
Complete Your Routine — Shop The Products We Recommend
As an Amazon Associate we earn from qualifying purchases. This is at no extra cost to you.
Complete Your Routine — Shop The Products We Recommend
As an Amazon Associate we earn from qualifying purchases. This is at no extra cost to you.
If you want to put this into practice, you can map every step in the right order with our skincare routine planner, design a targeted regimen using our anti-aging routine builder, and see what each bottle actually costs per application with our cost per use calculator.
Related Articles
What the Science Actually Says About Steam, Honey, and Oat Masks
A 2016 study in the Journal of the Egyptian Women's Dermatologic Society measured stratum corneum hydration after a single 8-minute facial steam in 30 participants. Hydration rose by 18% immediately post-steam but fell back to baseline within 90 minutes — and dropped below baseline by 22% in the 4-hour mark if no occlusive moisturiser was applied afterwards. The takeaway: steam is genuinely useful, but only when followed within minutes by a humectant + occlusive combination. Steaming and walking away makes skin drier, not softer.
Manuka honey at UMF 10+ has been shown in a 2011 Asian Pacific Journal of Tropical Biomedicine paper to maintain a wound-surface pH of around 3.5-4.5, which is the pH range that inhibits S. aureus and C. acnes growth. Regular grocery-store honey doesn't reliably hit that pH — so for the honey step in this facial, UMF-certified Manuka (or medical-grade Medihoney) is a meaningfully different product, not just a marketing upgrade.
For the oat mask, colloidal oatmeal (not just blended whole oats) is the active form: a 2015 Journal of Drugs in Dermatology review documented that 1% colloidal oatmeal reduces itch intensity scores by an average of 50% in eczema patients within 14 days. A product pairing that maps to this DIY facial step-for-step: Aveeno Skin Relief Soothing Oat Mask (colloidal oatmeal) → Manukora UMF 10+ Manuka Honey → CeraVe Moisturising Cream as the final occlusive step. That sequence locks in the steam hydration before it dissipates.
Written by Waqas
Skincare Researcher & Founder of Skin Care Conflict
Waqas has spent enough time studying the science behind skincare formulations, ingredient interactions, and evidence-based routines. After a long trial, error, and too many irritated skin days, he created Skin Care Conflict to help people build smarter routines backed by real research — not marketing claims. Skincare is here to not only check ingredients but there are several other tools like routine planner, expiry checker, SPF calculator and much more.
All articles on this site are written or reviewed for accuracy. For personalised advice, we always recommend consulting a qualified dermatologist.